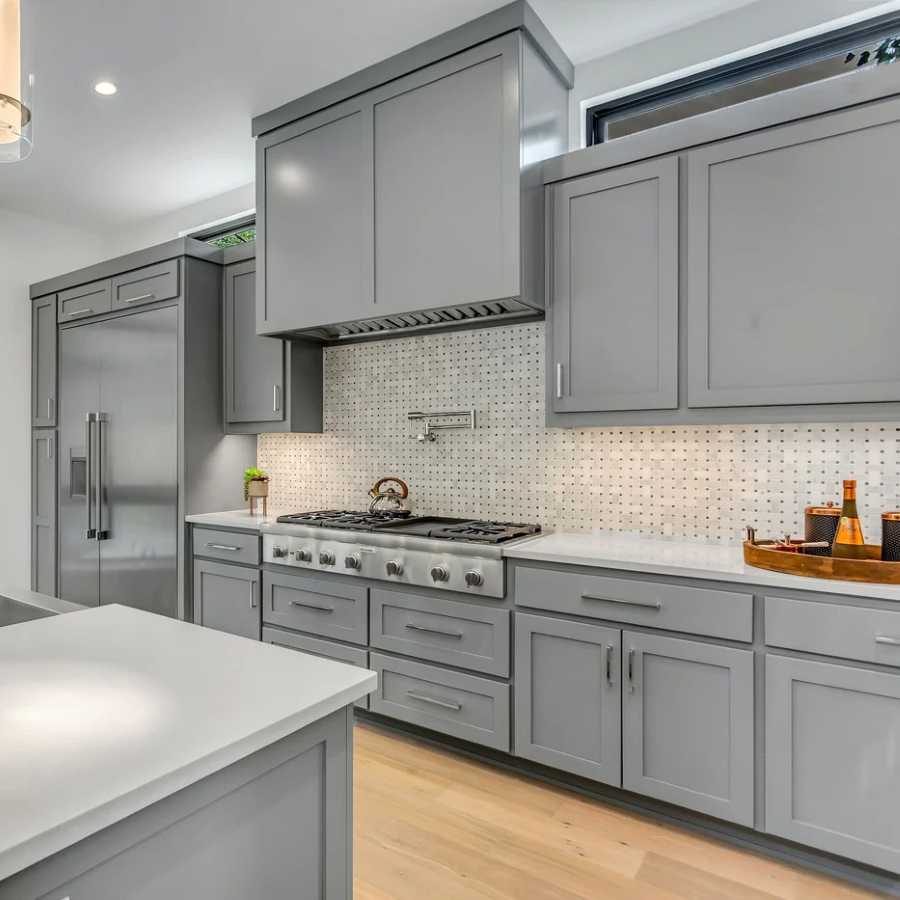
Thinking about giving your kitchen a fresh new look without the hefty price tag of a full renovation? Professional kitchen cabinet painting is one of the most cost-effective ways to transform your space, but it’s not without its challenges. Whether you’re tackling a DIY project or hiring a cabinet refinishing service, achieving a flawless finish can be tricky. From streaky paint jobs to chipping finishes, many homeowners quickly discover that painting cabinets is more complicated than it seems.
In this blog post, we’ll walk you through some of the most common cabinet painting mistakes and how to avoid them, ensuring your kitchen cabinets look as good as new. You’ll also learn why working with professional cabinet painters is often the best choice for long-lasting, high-quality results. We’ll cover everything from choosing the right type of paint and tools to fixing mishaps like uneven finishes or peeling paint. Plus, we’ll share tips on how to select the best cabinet painting service near you.
If you’ve been wondering whether to take on a kitchen cabinet makeover yourself or leave it to the pros, this guide is for you. Stick with us, and you’ll gain the insights needed to make informed decisions, avoid common pitfalls, and achieve a durable, polished finish that elevates your entire kitchen.
Common Cabinet Painting Mistakes and How to Avoid Them
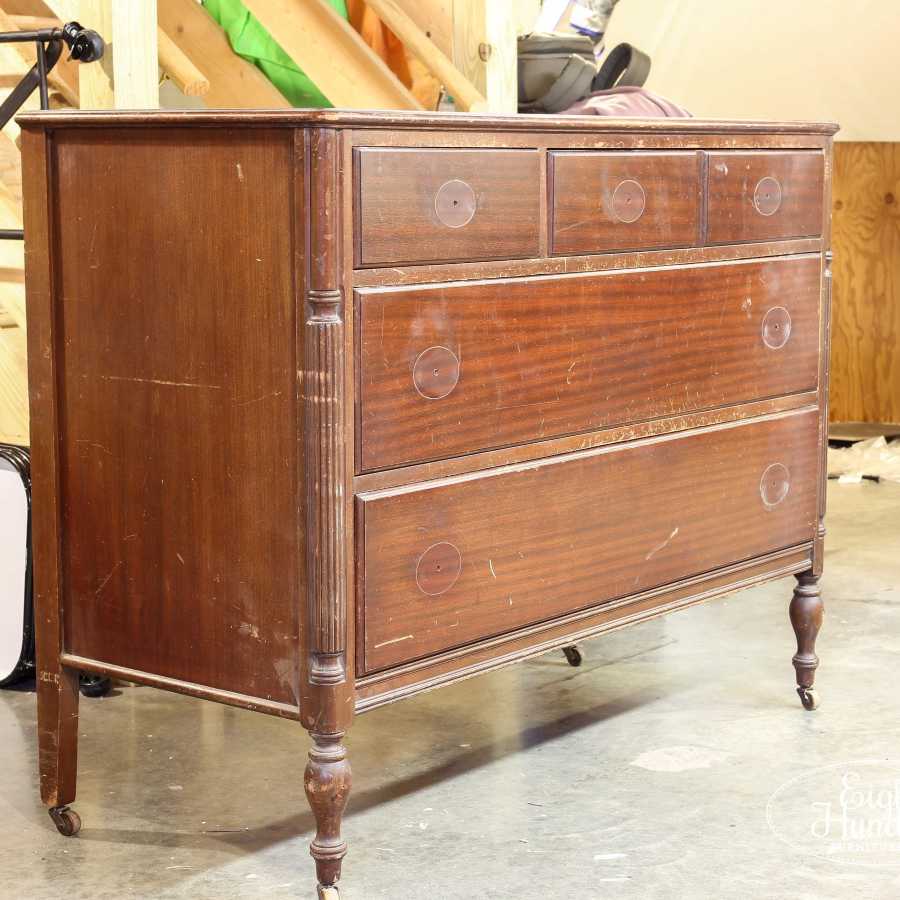
Cabinet painting might seem like a simple weekend project. You grab a brush, some paint, and get to work. But soon enough, you realize that getting a professional-looking finish on your kitchen cabinets isn’t as easy as it looks. Trust me, I’ve been there! After a long weekend of sanding, painting, and waiting for coats to dry, I stood back to admire my work only to notice streaks, uneven finishes, and, worst of all, peeling paint just a few days later. If you’ve experienced something similar, you’re not alone. Let’s break down the most common mistakes people make when painting cabinets and how to avoid them.
Skipping Proper Preparation
One of the biggest mistakes in cabinet painting is skipping the prep work. I get it, prepping can be tedious. Cleaning cabinets, sanding them down, and applying a primer doesn’t have the same instant gratification as slapping on a fresh coat of paint. But trust me, skipping these steps is a recipe for disaster.
Kitchen cabinets are exposed to grease, dirt, and everyday wear and tear. If you don’t thoroughly clean and sand them, the paint won’t adhere properly. The result? Chipping and peeling paint that won’t last. Even worse, if you paint over dirty surfaces, the grime will show through the finish.
The professionals know this all too well. A quality cabinet painting service will always start by cleaning the surfaces with a degreaser, sanding them to remove the old finish, and applying a primer to ensure the paint sticks. This is why professional kitchen cabinet painting tends to have a smoother, more durable finish than DIY jobs. It’s all in the prep work.
Using the Wrong Type of Paint
Another common mistake is using the wrong type of paint. When I first painted my cabinets, I used leftover wall paint. Big mistake. Wall paint isn’t formulated to handle the heavy use and cleaning that kitchen cabinets endure. The result was a finish that looked good for about a week before it started to chip and stain.
For cabinets, you need a paint that’s durable and easy to clean. Many professional painters recommend using acrylic or latex paint because it’s more flexible and less prone to cracking. Some even prefer oil-based paints for their smooth finish and durability. High-quality cabinet paints are specifically designed to withstand moisture, heat, and daily wear, making them the best choice for kitchen cabinets.
If you’re unsure what paint to use, consult a professional cabinet painting service. They’ll know exactly which type of paint works best for your specific cabinets, ensuring a long-lasting, flawless finish.
Not Removing Cabinet Doors and Hardware
I know it’s tempting to cut corners by painting cabinets with the doors still attached, but that’s another rookie mistake. When you leave the doors on, it’s hard to get an even coat of paint on all surfaces, especially around hinges and handles. Plus, you’re more likely to end up with drips and smudges.
Professional cabinet painters will always remove the cabinet doors, drawers, and hardware before they start painting. This allows them to reach all surfaces evenly and ensures a more polished, professional finish. It also makes it easier to avoid painting over hinges and screws, which can cause paint to chip later on.
Applying Paint Too Thick or Too Thin
Getting the right paint application is crucial. Too thick, and you’ll end up with drips and an uneven texture. Too thin, and you’ll need endless coats to achieve full coverage.
When I painted my cabinets, I thought one thick coat would be enough to save time. Instead, I ended up with visible drips and a finish that looked anything but professional. The trick is to apply multiple thin coats, allowing each layer to dry completely before adding the next. This ensures a smooth, even finish without streaks or drips.
Professional kitchen cabinet painting services often use sprayers to achieve a flawless finish. While most DIYers stick to brushes and rollers, sprayers can apply paint more evenly and create a factory-like finish. If you’re serious about getting that high-end look, investing in a sprayer or hiring a professional might be worth it.
Why Professional Kitchen Cabinet Painting Is Worth It
By now, you might be wondering if it’s better to leave cabinet painting to the pros. In many cases, the answer is yes. Hiring a professional cabinet painting service can save you time, money, and frustration in the long run. Let’s explore why.
Expertise in Preparation and Paint Application
Professional cabinet painters know the importance of preparation. They’ll ensure your cabinets are thoroughly cleaned, sanded, and primed before applying any paint. They also know how to apply paint evenly to avoid streaks, drips, and uneven finishes. Their expertise means your cabinets will look brand new, not like a rushed DIY project.
Access to High-Quality Materials and Tools
Professionals use high-quality paints, primers, and tools that aren’t always available at your local hardware store. These materials are designed to withstand the wear and tear of daily use in a kitchen, ensuring a long-lasting finish. Plus, professional painters often use sprayers for a smoother, more polished look.
Time and Cost Savings
While it might seem cheaper to paint your cabinets yourself, the cost of mistakes can add up quickly. From buying the wrong paint to needing extra supplies to fix errors, DIY cabinet painting can get expensive. Hiring a professional can save you time and money by getting the job done right the first time.
How to Fix Common Cabinet Painting Mistakes
If you’ve already painted your cabinets and aren’t happy with the results, don’t worry. Many common mistakes can be fixed with a little extra effort.
Peeling or Chipping Paint
Peeling paint is often a sign of poor preparation. If your cabinets are peeling, start by sanding down the affected areas to remove loose paint. Then, clean the surface and apply a primer before repainting. This will help the new paint adhere properly and prevent future peeling.
Streaky or Uneven Finish
If your cabinets have a streaky or uneven finish, lightly sand the surface to smooth it out. Then, apply another thin coat of paint, making sure to let each layer dry completely before adding the next. This should help even out the finish.
Paint Drips
If you notice paint drips after your cabinets have dried, use a razor blade or scraper to remove the excess paint. Then, sand the area smooth and touch it up with a thin coat of paint. Taking your time with each coat is key to avoiding drips in the first place.
Pro Tips for Getting a Flawless Finish Every Time
To wrap up this section, let’s talk about some tips the pros use to get a flawless finish on kitchen cabinets.
First, invest in high-quality paint and primer. The right products make all the difference in achieving a smooth, durable finish. Second, use the right tools for the job. Brushes, rollers, and sprayers all have their place in cabinet painting, so choose the tools that work best for your project. Finally, be patient. Allowing proper drying time between coats is crucial for avoiding smudges and imperfections.
By following these tips and avoiding common mistakes, you can achieve a professional-looking finish on your kitchen cabinets that will last for years. But if you’re still unsure about tackling the project yourself, don’t hesitate to reach out to a professional kitchen cabinet painting service. Sometimes, it’s worth investing in expert help to ensure your cabinets look their best.
Achieve a Flawless Cabinet Finish with the Right Approach
Painting your kitchen cabinets can completely transform your space, but as you’ve seen, it’s not a project to rush into without careful preparation. From cleaning and sanding to choosing the right paint and applying it correctly, every step matters when it comes to achieving a professional-looking, long-lasting finish. Mistakes like peeling paint, streaks, and uneven finishes are all too common in DIY jobs, but by following expert advice or hiring a professional kitchen cabinet painting service, you can avoid these pitfalls.
The difference between a rushed DIY job and a polished, flawless finish often comes down to experience and the right materials. Professional cabinet painters know how to prep surfaces properly, apply paint evenly, and use high-quality products that stand up to daily wear and tear. Whether you’re looking to refresh your kitchen on a budget or boost your home’s resale value, investing in a quality cabinet painting job can make all the difference.
Ready to skip the frustration and get the flawless finish you’ve been dreaming of? Contact Strong Paint LLC today to schedule your professional kitchen cabinet painting service. Our experts are here to help you transform your kitchen cabinets with a smooth, durable finish that will look stunning for years to come. Reach out now to get started!